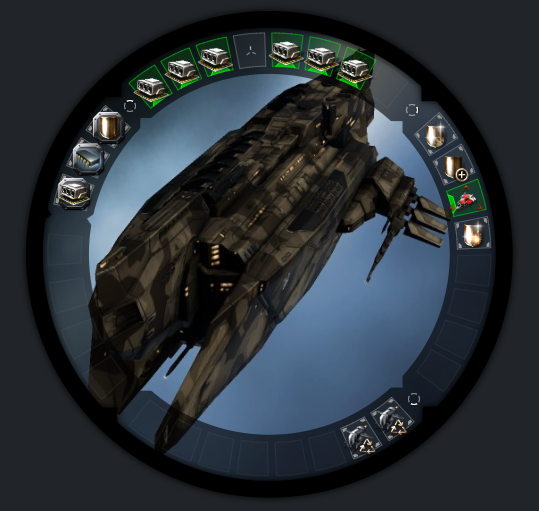
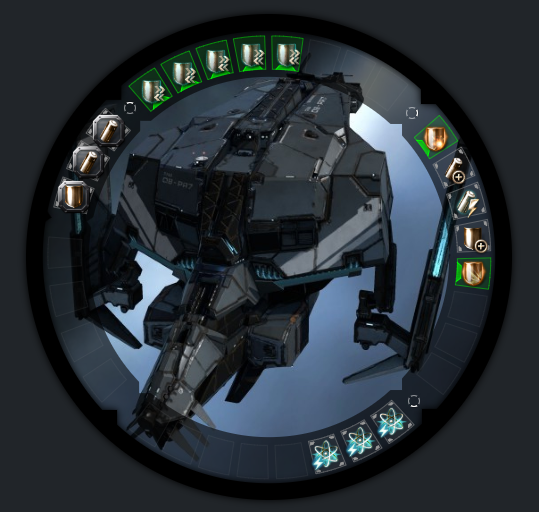
(Gallente) Automated Factory
Strategy (based on the fittings below):
Turn on the shield resistance modules on the 4 Osprey logistic ships- Enter the site with all 5 ships, Mamba first
- Launch the Mamba's augmented Hornets*
- Fleet commander (Mamba) orbits the
ClanAutomatedCommons structureFactory at500m3000m and regroups the fleet Launch all drones and assist them to the Mamba pilot- Lock
ClantheCommonsAutomated Factory withtheall Ospreys and send 4 remote reps each - Launch the drones of all Ospreys and assist them to the
structure If there are more than 2 Corruptors and not more than 1 Malignant (logi) NPC, kill some Corruptors first*Mamba- Kill all
Devastationxxx NPCs to remove dps pressure from theClanAutomatedCommons structureFactory so your logi can keep up - Use the 5th remote repair module on your logistic ships to help out if a fleet member falls below 50% shield
- The last wave (around the 2 minutes left mark), of structure attacking NPCs doesn't have to be killed, as the logi can counter the damage
- After 10 minutes, the site completes successfully if the
ClanAutomatedCommons structureFactory is still alive
*Launching the Mamba's drones first ensures that potential aggro from xxx is on one of them. If therethe aredps manypressure Corruptors,is sometoo high, just send one remote rep to the affected drone. Aggro should stay on that drone for the entire duration of the drones may receive damage, but most of the time will be able to tank it, since they are sent after a new target every 20 or so seconds and the Corruptors are not that fast.site.
NPCs
| Name | Info | Dmg to do | Dmg to tank |
|
Devastation |
Attacking the objective | ||
|
Corruptor |
Drone aggro | ||
|
Malignant |
Logistics (shield) | ||
|
Persecutor |
 |
||
|
Slayer |
DPS | ||
|
Sundering |
DPS |


